Tuesday, 14 January 2014

Combination of Magnetic Polishes.

When I last posted about magnetic nail polish, I did get a bit crazy seeing as there were two posts in quick succession about magnetic nail polishes which I thought was a bit naughty of me but there is now an upside to this because I have needed the magnets from them on another magnetic nail polish which I purchased recently. Now the Sally Hansen "Silver Elements" Magnetic Nail Polish Review was very positive seeing as it was really easy once you read the instructions, but I do confess this isn't such as positive review sadly.
Slate Spark by Sally Hansen is a lovely coloured nail polish seeing as it's a metallic-y style nail polish with hints of glitter which is blue so it stands out from the rest. However the design of the magnetic is the great let-down on this particular nail polish seeing as the design is slightly misleading as it doesn't come out like it should...
The left one is the lid that came with the magnet which I thought would mean the design would be like crosses on the nails however this didn't happen and the design was way bigger the nail so it didn't appear as the lid design. BUT the nail polish was salvaged! I used another nail polish magnet lid which was also used - Barry M "Burgundy" Magnetic Nail Varnish and the nail polish was saved, here are the results:


There you go, a brilliant polish but not a brilliant magnet to go with it. I am hopeful that I just received a dud magnet seeing as the previous magnetic nail polish by Sally Hansen was brilliant and easy to use. Another lesson for you guys that you can mix and match the magnetic lids meaning less purchases as you can re-use other nail polish magnets!


Monday, 13 January 2014

Red Wine by Barry M

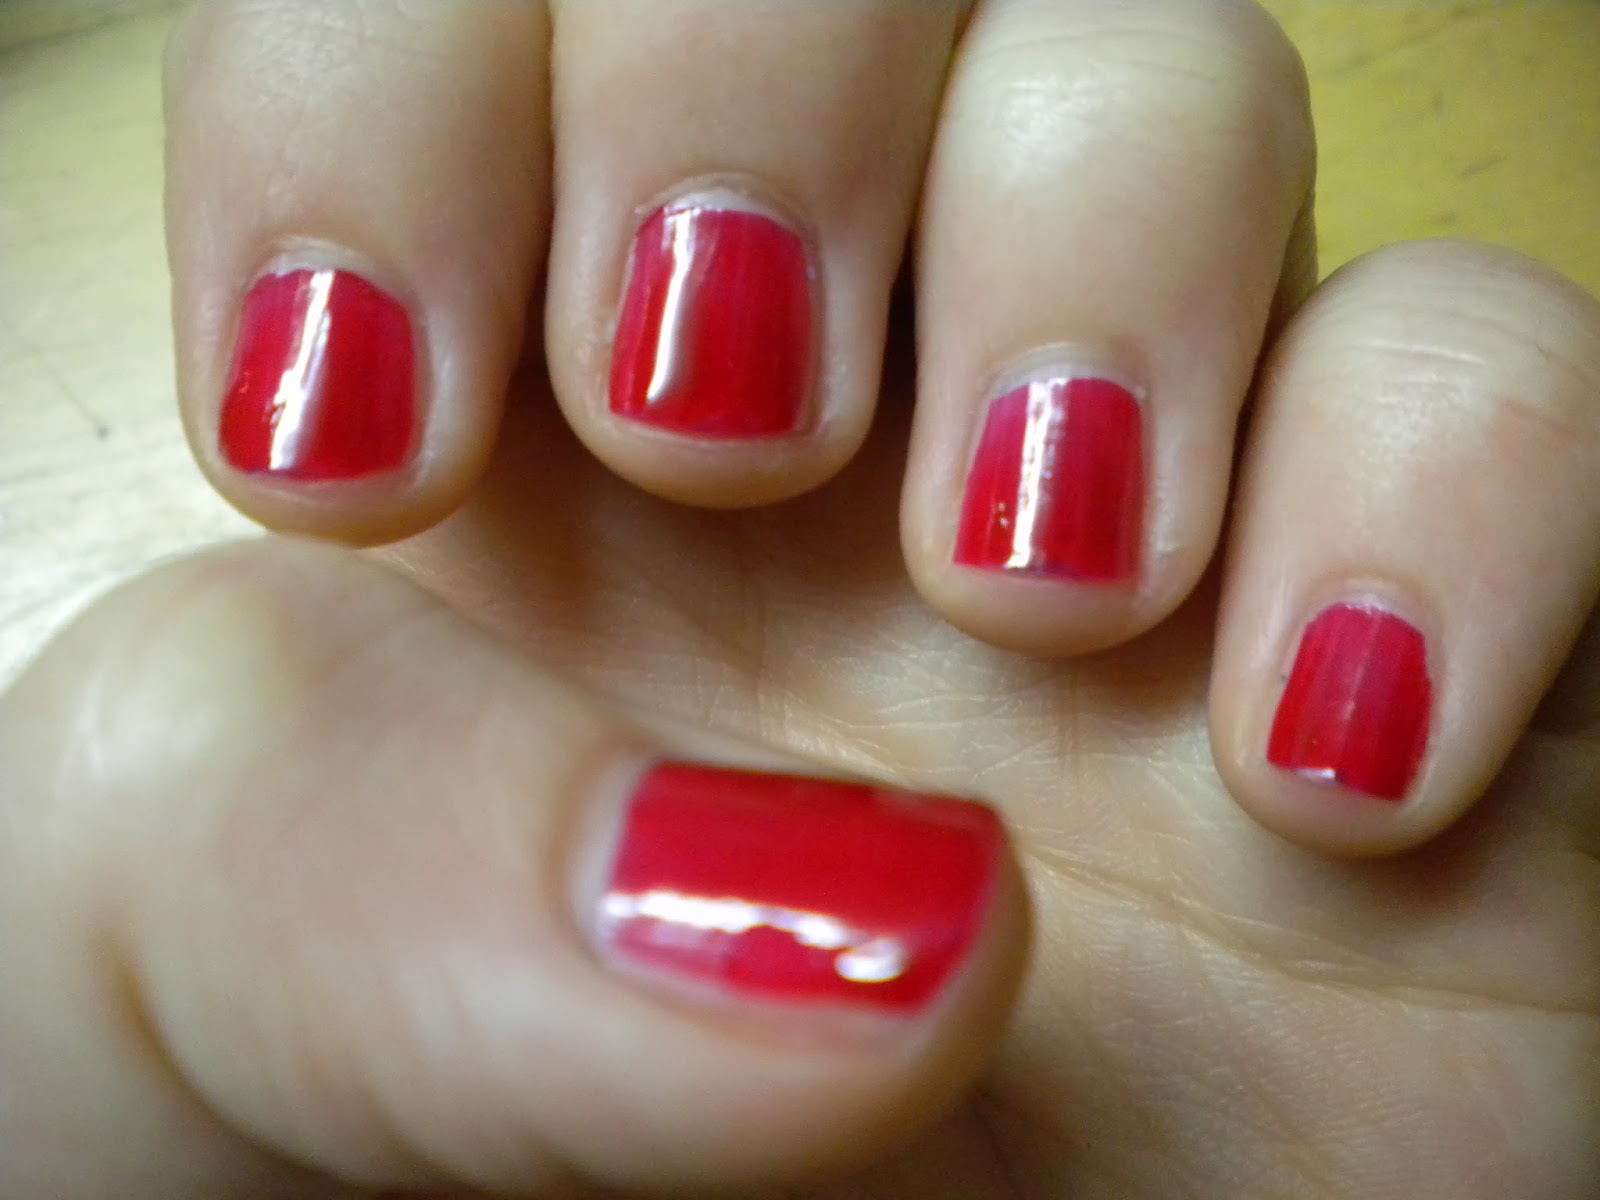
Now this lovely colour was added to the collection in present format probably because dark red is such a brilliant colour but this one isn't such an in your face bright red! It's much lighter but still opaque in colour when applied.

This nail varnish is called Red Wine which gives major hints as to the type of red colour it is. Additionally Red Wine would be brilliant colour to contrast with another Barry M which I currently own ... Blackberry! So here's the first layer that was applied:
Admittedly this doesn't look all that great a colour with just the first layer but I promise it gets better later on. Applying this nail polish was done with ease seeing as the solution was perfect for painting on as well as not taking too long to dry which can sometimes happen with Barry M. Also the brush was lovely to use as it wasn't too thin or thick, as I do tend to have a certain preference on nail polish brushes.

Didn't I say it would look way better with a second layer? The colour has definitely shone through now, as it's a darkish red but not so dark that it's nearly brown. As well as this after wearing it for a few days, it doesn't have major chippage either which is a pro to this Barry M nail varnish with no cons that come to mind
__________________________________________________________________________
Follow my blog with Bloglovin

Blackberry by Barry M

It certainly lives up to it's name in colour, as the title of the post suggests the nail polish is called Blackberry and the colour of this nail polish is a dark navy which could be mistaken for black in some lights believe me. As I have always been a lover of blue and definitely navy when I saw this nail polish I had to have it so much so I bought it then and there!
Additionally this colour was chosen as it'll match almost every item of clothing I own which is a major plus. When purchasing this colour, it was the first one of the Gelly Hi-Shine (Watermelon was also purchased at this point) with only a slight price increase to the normal Barry M nail varnishes I was a bit confused as if there would be any major difference between the two collections...

Believe me there is a major difference between the two collections, as said with this collection's name there is a lot more shine and it's much easier to get it as the solution is lovely and smooth! With applying the first layer of Blackberry, the colour is very blue so you could probably leave it there for the colour but I am more into the darker colours so another layer was definitely needed for my nails.

Now it's more a Blackberry colour, applying the second layer was lovely to do and it shows it in the evenness of the nails and also how shiny they are (as shown in the second photograph) Additionally the nail brush in this bottle of Barry M was brilliant to use, it's making me think whether the Watermelon brush was a dud? A fab nail varnish from Barry M yet again...

Sunday, 12 January 2014

Crackle for a trip away!

Now I was setting this post to be put up on a certain day seeing as I was going away. But when I arrived back I realised that this didn't happen and there's been no new blogs, so here is what you guys where suppose to get two days ago... I wanted to paint my nails extra specially well so that they would look amazing with little effort and they'd last all the trip. What is simple to create an amazing effect on your nails? It wont come as a surprise that I'll be using crackle nail varnish, it appears in seconds and doesn't make a mess! I'll reveal the crackle nail varnish a little later on in this little blog but here's the base colour which has been picked...

It's recently been reviewed on this little blog and it made such an impression I am doing it again. (really soon after...) This little beauty is a Sinful Colors nail polish that I picked up in Boots and the colour is Savage which is a bright blue which is one of the many favourite colours I have currently. There is only one con I have to disclose to you guys today is that I discovered that the brush in this nail polish is a terror for dripping nail polish everywhere! And I promise it's not my poor holding skills which causes this. Onwards and upwards to the crackle nail polish, these crackles are probably seriously out of date seeing as they were purchased at a 99p shop but they are good quality, they are:
China Glaze - Platinum Pieces and Oxidized Aqua which are really really really glittery crackle nail polishes which look really great, the only downside is that they don't stand out as well as normal crackle nail polishes seeing as they aren't a solid colour. Here's the results...


Pretty crackle-ly and glittery! That's all my Christmas wishes rolled into one nail polish! Obviously the crackle lines don't stand out that clearly as others would but I think I'll be able to live with that seeing as it's glittery... They wouldn't be top of my recommend list for nail polishes but if you can get them at the price I did, I'd recommend them then. If you can't I'd recommend the solid colours by this brand instead.

Friday, 10 January 2014

A brilliant metal rush!

Whilst deciding what to post about, I was in a real rut and couldn't decide what I wanted to do seeing as I have literally just started with the nail art brushes so I wanted to do some more practise before posting again and was unsure to post about the other China Glaze polishes I am currently testing. Then it hit me that I'd taken some photographs of a polish that I tried the other day and loved...
Now I know I have all rated and loved the Revlon Chroma Colour nail polishes however this one has a waaaaaaay better duotone I promise you! When purchasing 80 Purple Reign by Rimmel, I was a tad unsure as to whether it would live up to the packaging, stating that you can "flip your colour". This I don't believe it has done but the major up side is that it's a brilliant purple colour with added addition of the duotone orange/red-ish, that does shine brilliantly in most lighting.

When applying the first layer, the colour and effect it has doesn't appear to be that brilliant seeing as it appears to be a mixture of colours which don't relate or stand out. It improves though when more layers are added!

See the colours are coming through a lot better with another layer as they are more opaque and you can see less nail at this point... Additionally the metal shine is starting to appear with the next layer whereas with only one layer it just appeared to be really shiny. Now normally the application of a third layer is missed on myself, seeing as it's too much effort but this time it did happen.
Worth the effort of applying a third layer seeing as the colours are now at their best! Duotone effect really can be seen at this point, sadly I don't think the photograph can really show this seeing as you need to catch the light? Sorry about that, hopefully you can trust me enough, I am not lying I promise. As for the application, the solution of the nail polish is normal - not gloopy or runny at all, the brush is an attempt at a wide brush but doesn't really come under wide, I'd say it's a medium sized brush. Other than that the only thing that needs mentioning is the size of the bottle as it's not regular size, it's smaller as it contains 8ml which is a con if it's the same price or more expensive than regular bottles. So I'd shop around for it if I were you, I did purchase this particular nail polish at a £1 shop (Sorry.) Overall I'd say if you are metal or duotone lover this nail polish is for you or if your into cool nail polish effects which I am then grab yourself a bottle! 


LinkWithin

Related Posts Plugin for WordPress, Blogger...