Showing posts with label Red. Show all posts

Tuesday, 2 December 2014

November's Polish Party: Autumn/Weather!


Today's post is a return of a favourite that's been rather neglected by Addicted To Nails... recently as other new and sparkly polishes have been placed above the needs of this little monthly link up... That's right, it's the Polish Party! This month's theme is Autumn and the Weather which was planned to be an excuse to try my stamping plate for the first time yet they weren't related at all. Therefore it's the last Barry M Autumn release polish that has not graced the little blog, follow through for more lovely photographs. 

Saturday, 1 November 2014

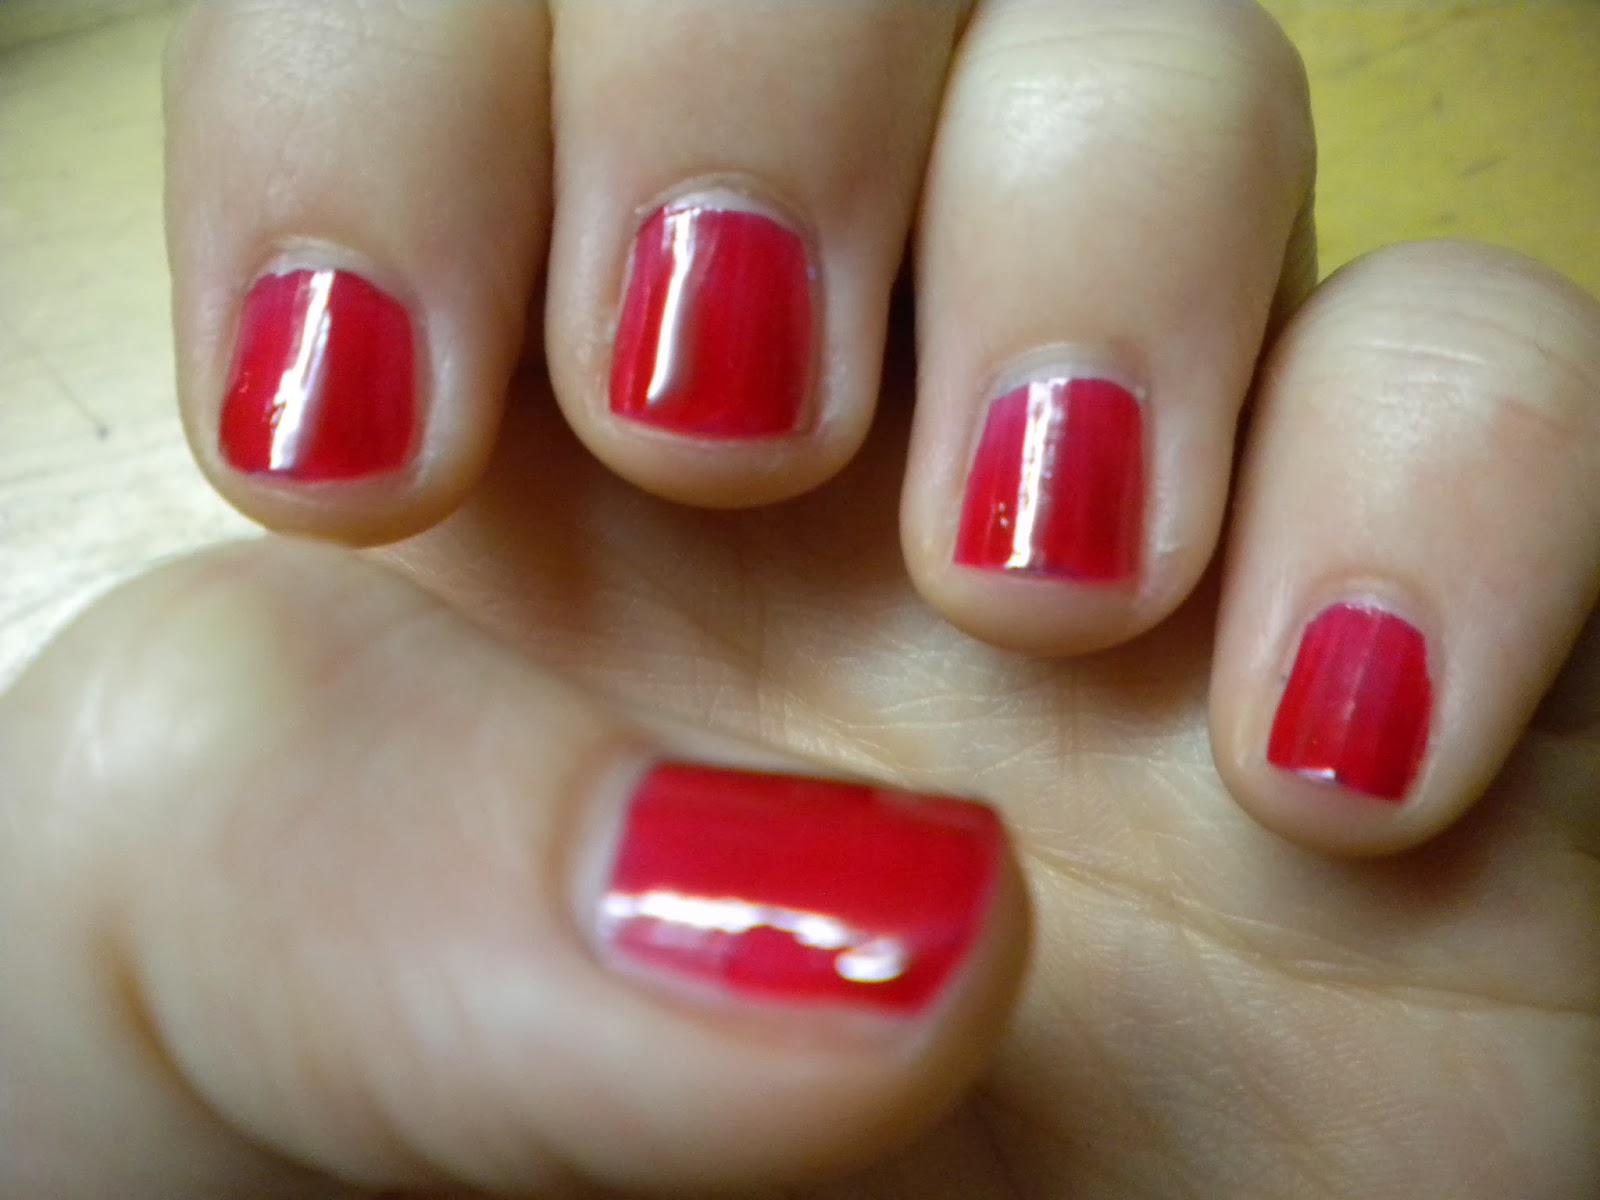
Another Autumn Polish: Barry M's Chilli.


This polish is just SO pretty, why did I leave testing Barry M's autumn collection for so long... guess we will never know.  At least it's finally been done in autumn so we'll get full use out of it right up until spring arrives. The pretty polish before your eye is Chilli by Barry M as part of the autumn collection 2014, there's more photographs of this pretty polish further on in this blog post...  

Thursday, 30 October 2014

October's Polish Party: Halloween...


It's been a while since the Polish Party has been participated in! Don't know why they've been missed but loved making this simple manicure that's suitable for this months theme. You'll have probably guessed it by the look of the nails, it's Halloween themed. Time to dust off the old crackle polishes and give them a whirl in deep dark Halloween colours.

Thursday, 31 July 2014

Venture into OPI...


OPI as a brand of nail polishes has always been the dream seeing as they are always raved about by many nail polish bloggers and normal bloggers alike. However the price tag as well as the availability has always put me off seeing as it doesn't really seem worth it despite many lovely blog photographs and posts disagreeing. But recently some OPI's have been picked up locally at a fraction of the retail price therefore they are going to be tried... 

Saturday, 31 May 2014

World Cup Nails 2014 - Italy!

Now this competition may come as bit of a surprise seeing as it hasn't been mentioned before on the blog - sorry about that. However Addicted To Nails... is participating in the brilliant nail art competition by Nailsxo and it's based upon THE WORLD CUP! Each participant is assigned a country to create a nail design for, then they follow their country through the World Cup and at the end there's a prize for best nail art and the participant with the winning country.
Addicted To Nails... country is Italy. There are a few links between myself and Italy as I have been there on holiday as well as having friends who live there so it's not a completely new country to myself.

Saturday, 29 March 2014

March's Polish Party: Spring!

It's that time of the month again for the Polish Party nail art challenge. The winning theme from the vote was spring which is a pretty wide area meaning loads of different designs. By pure accident, I've also managed to tie this challenge in with this weeks Golden Oldie Thursday challenge as well seeing as it's yellow/peach and that's the chosen base colour for this design:

Thursday, 6 March 2014

GOT Challenge: Skittle

Now I've probably mentioned before that I have a current love of the sweets Skittles in any of their flavours, which made me very excited for this week's GOT challenge seeing as I am basing it on the sweets! It's only going to be a flying post but a very colourful one.
Each colour nail polish has been matched to a flavour, however the flavours cannot be named as these are the Confused? Skittles. The names and how old they are: 460 Orange Couture - Maybelline Forever Strong Pro (Unused), 325 Hot Gossip -Rimmel Lycra Pro (Kind of Golden Oldie), 303 Bright Purple - Barry M (Golden Oldie!), 50 In Record Lime - Sally Hansen Insta-Dry (Kind of Golden Oldie) and Unnamed Yellow - Miss Sporty (Golden Oldie!) So here's the end result:

Tuesday, 4 March 2014

Another Sinful Colors...

This brand is slowly but surely going up in my estimations and also growing in quantity in the nail polish stash. They just seem such great nail polishes in colour and price quality. And when I just went into Boots to add some more extra points to my card (Which I'd definitely recommend if your a large polish purchaser at Boots) I saw there was another collection which had come out at the top of the stand. It's called Almost Famous and when I saw this particular polish, I just HAD to have it as I loved it. You know that feeling?
It's a dark but bright red with small red glitter running through out - almost like tiny glitter! The collection title is really fitting to the nail polish seeing as it's very glamorous like the dresses actresses where to big awards (You can tell here I pay loads of attention to celebrities...) So lets get the first coat on of Sugar Sugar by Sinful Colors:
 

Tuesday, 18 February 2014

Another little post for your nail polish fix!

Seeing as the first post today wasn't about nail polishes, I thought I'd do a simple review of a polish which is well worn but fab just to give you guys your nail polish fix so that you'll keep going until Thursday. This particular polish was chosen for the colour seeing as I am a major fan of the book series Pretty Little Liars and today is #redcoattuesday!
It's not a great surprise that the brand of nail polish is Rimmel Pro as I cannot find fault with any of this particular collection but the colour is 325 Hot Gossip. Definitely fits the colour seeing as your nails become such a statement with this on. Each layer is no exception to this, here's the first...

Saturday, 15 February 2014

Another Sugar Fix!

 
It's the next post in the little series about the lovely Sugar Coat nail polishes by Sally Hansen. So are you dying to find out the ones I'll be reviewing today? Well you'll be off the edge of your seat now as here are the selected polishes:
They'd be a great contrasting nail polishes, maybe I'll do odds and evens with them some day. These particular nail polishes are called 300 Cherry Drop and 200 Sugar Fix which is really cool seeing as Cherry Drops are a favourite sweet of mine which I love when I need some sort of sugar fix. Right let's get on with reviewing and showing the lovely photographs...

First up will be 300 Cherry Drop, this is certainly a bright colour. When I applied the first nail, I thought this must be an uneven part of the solution making it so bright but it wasn't all of the nails are really bright red. It's brilliant and very even coverage you could of left it there are one coat if your going on colour. However the effect wasn't at it's best so a second coat was needed sadly.

Tuesday, 21 January 2014

Red-y Response

Starting this little post is really really hard, I've been twiddling my thumbs for about the last half an hour so it's just going to start like this. Anyone who has read my blog for a little while or a long while will probably know that magnetic nail polish is a must in the collection of mine. And yet another magnetic nail polish has been added to the ever growing collection when I accidentally popped into the £1 shops the other day as mentioned in this confession, I'll have to apologise to my purse at some point but here's the offending magnetic article...

Sunday, 19 January 2014

Just couldn't resist!

When I received the striping brushes I made a promise that I'd wait until all the nail art stuff ordered had arrived so that they could be used at the same time. However that didn't happen as they were used in the first GOT challenge, so I said that I'd wait for the last two items to arrive together but yet again that didn't happen.... Dotting tools arrived today and my nails are now dotted and spotted!

These are the Dotting Tools that I ordered which I got from Amazon which came when they said they would and are brilliant so far (A little shorter than expected as I thought they'd be pencil length but there a tad shorter!) as it's totally easy to put dots on your nails on both hands which is a total plus seeing as one hand is normally not as good as the other. For the base, a darker colour was needed but not too dark that the other colours wouldn't show up so 381 Jade Green by Rimmel Pro was chosen.
For the dots, it really needed to be many different colours and in random places so that if it went wrong on the first attempt it wouldn't look too bad I decided. Therefore all the dots are made up of these colours:
Which are; Bright Purple - Barry M, Orange Attack. - Maybelline Colour Show, Savage - Sinful Colors and 325 Hot Gossip - Rimmel Pro. Do you think it's a good combo? Maybe should of added a bright yellow seeing as there are all the other main colours, oh well. Here are the results of the dotting and spotting.


Pretty pleased seeing as it's artist nails which have gone better than I thought they would, the next design I would like to do is like a sunset with dots which I have seen on Youtube by a lovely blogger but I cant remember them - oops and sorry! But overall these nails are really simple to but you do need dotting tools, however there are things you can use from around the house to create this effect such as pins so there's no major need to purchase the tools as I told myself when buying them....

Monday, 13 January 2014

Red Wine by Barry M

Now this lovely colour was added to the collection in present format probably because dark red is such a brilliant colour but this one isn't such an in your face bright red! It's much lighter but still opaque in colour when applied.

This nail varnish is called Red Wine which gives major hints as to the type of red colour it is. Additionally Red Wine would be brilliant colour to contrast with another Barry M which I currently own ... Blackberry! So here's the first layer that was applied:
Admittedly this doesn't look all that great a colour with just the first layer but I promise it gets better later on. Applying this nail polish was done with ease seeing as the solution was perfect for painting on as well as not taking too long to dry which can sometimes happen with Barry M. Also the brush was lovely to use as it wasn't too thin or thick, as I do tend to have a certain preference on nail polish brushes.

Didn't I say it would look way better with a second layer? The colour has definitely shone through now, as it's a darkish red but not so dark that it's nearly brown. As well as this after wearing it for a few days, it doesn't have major chippage either which is a pro to this Barry M nail varnish with no cons that come to mind
__________________________________________________________________________
Follow my blog with Bloglovin

Wednesday, 1 January 2014

Too much magnetism...

It may of come to your attention that there has just been a post about magnetic nail polish, but another one came in the post this morning and it just couldn't be helped! This wasn't intentional because one was ordered in advance and one was just an impulse, it takes no genius to work out which is which...
It's the good old Barry M nail polish, it's NP 327 with the additional Base & Top Coat by the same lovely people. This particular polish was chosen due to the colour as the others in the Barry M collection didn't appear to be that great with the exception of the green one which I have seen recently on someone's nails - they looked fantastic so I might treat myself to that one also at some point...

I realise that this isn't the use for it but it does make a brilliant red (slightly pink) colour by itself as it's brilliant coverage just in one layer which normally takes two to get great coverage. Previously on magnetic nails, there have been two layers of dried nail polish before adding the magnetic but clearly it's not needed. So here's the fun bit:


An excellent quick effect to add to your nails! Well I am fibbing a little bit seeing as they didn't all go well and being me I redone these ones... So it took a while. But as a recent convert to the magnetic effect, this is amazing as the strips looks as if you have taken the time to paint or decorate them on but surprise surprise you haven't meaning lots of complements for them!

Thursday, 19 December 2013

Getting into the spirit of things: Christmas Crackle!


Seeing as the lovely red and gold theme Christmas tree has now been put up inside the house, definitely going to beat all the other Christmas tree designs just kidding! It's now the time to get into the festivities therefore the nails should be also. After a few attempts at deciding a good colour combination I copied the tree colours - red and gold. However seeing as I am so addicted to crackle at the moment, the red is going to be crackle!
It's a combination of Gemey Paris by Maybelline New York and Red Shatter by OPI. The gold is definitely a mute gold as opposed to a bright gold so that it lets the red stand out and also so my fingers don't look too much like a bright Christmas tree...
Layer number one: Good so far! Definitely needs another coat as it's quite see through at the moment.
Layer number two: Okay-ish coverage, it's fine seeing as the crackle layer is going on over the top but sadly you'd need another layer or possibly two if your just wearing it as it is. Therefore the nail varnish doesn't get a total thumbs up.
Here's the final results! And another shot of the Christmas tree. Overall it came out pretty well, the OPI nail varnish was lovely to apply seeing as at one point too much nail polish was applied yet it didn't come out in one big blob (which does happen with less expensive nail varnish effects) also the under coat colour complimented the crackle effect! Therefore this combination has a thumbs up and a definite recommend of the OPI red shatter effect. Finally Merry Christmas!!!


LinkWithin

Related Posts Plugin for WordPress, Blogger...